Mini Heart Cake with Red Velvet
Highlighted under: Simple Baking Favorites
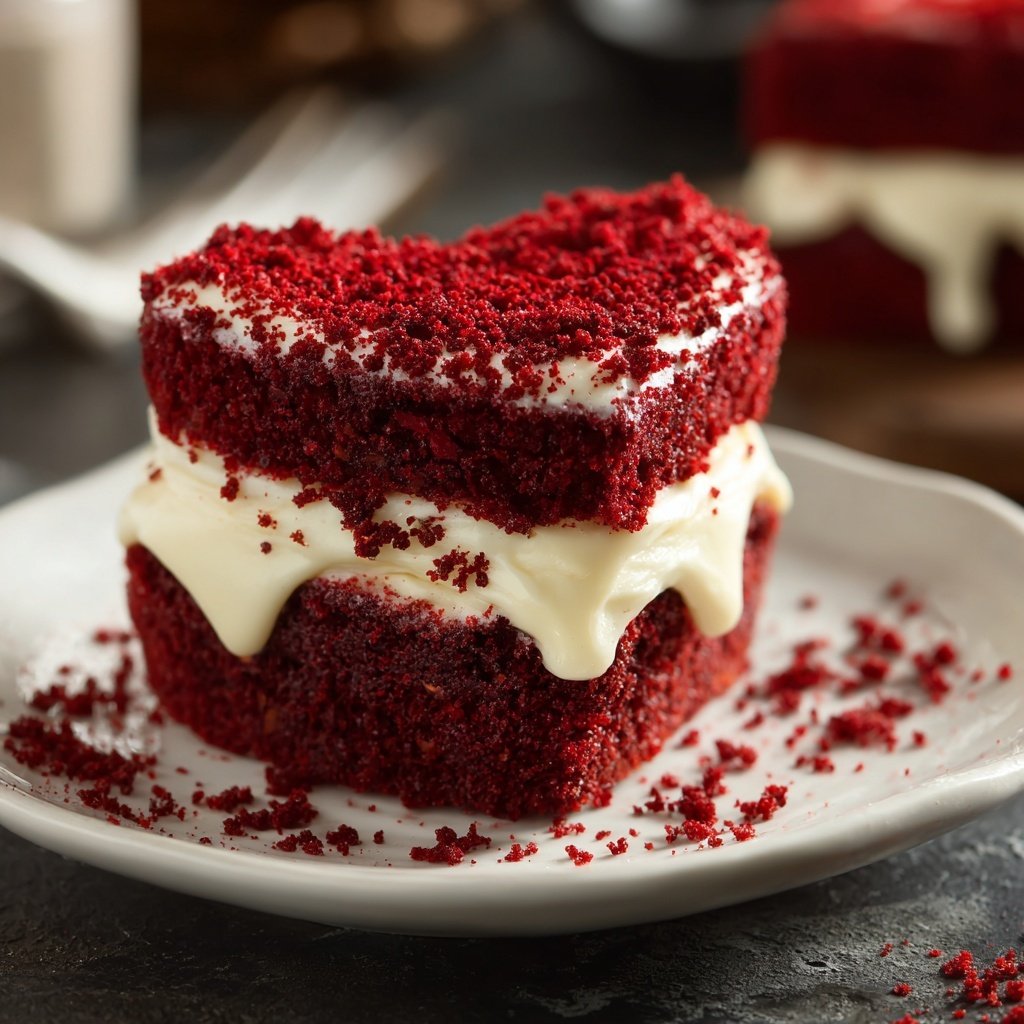
I love creating delightful desserts, and this Mini Heart Cake with Red Velvet is a perfect example of that passion. With its vibrant red color and soft, velvety texture, it’s not just visually stunning but also incredibly delicious. Each bite is a celebration of flavors that brings happiness and warmth. Whether for a romantic occasion or a sweet treat for family, this recipe never fails to impress. Join me in making this decadent cake that’s sure to be loved by everyone!
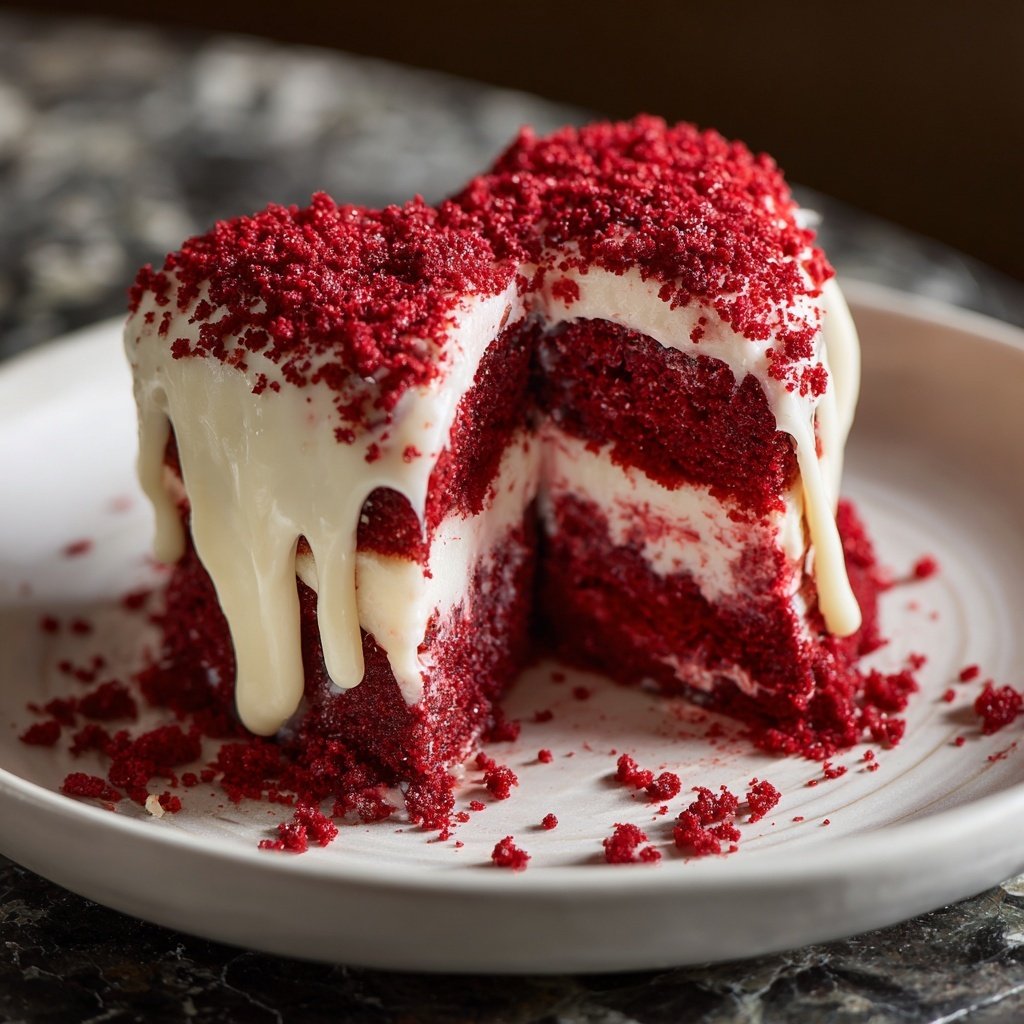
Every time I bake this Mini Heart Cake, I reminisce about the first time I made it for a friend’s anniversary. The way the vibrant red contrasts against the creamy frosting makes it a standout dessert at any gathering. I’ve experimented with different frosting techniques, and I find that a simple swirled pattern adds an elegant touch without being overly complicated.
One tip I've learned is to ensure your ingredients are at room temperature before mixing; this helps achieve that smooth consistency we all crave. The addition of buttermilk not only keeps the cake moist but enhances the flavor, making each slice absolutely delightful. I can guarantee you’ll love it!
Why You Will Love This Recipe
- Rich red velvet flavor combined with a creamy frosting
- Perfectly portioned for special occasions
- Delightful presentation to impress your guests
Understanding the Ingredients
Each ingredient in this Mini Heart Cake plays a critical role in achieving the signature red velvet flavor and texture. The buttermilk not only adds moisture but also reacts with baking soda to create the cake's light and airy structure. If you don’t have buttermilk on hand, you can easily make a substitute by adding 1 tablespoon of lemon juice or vinegar to 1 cup of milk and letting it sit for 5 minutes. This will give you a similar tangy effect.
Red food coloring is essential for creating the cake’s iconic color. While traditional recipes call for liquid dye, you can opt for gel food coloring, which provides a richer hue without altering the batter’s consistency. Keep in mind that the amount of color may need to be adjusted based on the brand, so always start with less and gradually add more until you reach the desired vibrant shade.
Baking Tips and Techniques
When baking, ensure your oven is preheated to 350°F (175°C) to achieve an even rise. Using heart-shaped pans enhances the presentation, but evenly distributing the batter is vital to prevent uneven baking. To do this, consider using a kitchen scale to measure the batter, or use a measuring cup to ensure each pan gets the same amount. Keep an eye on the cakes as they bake; they’re done when they spring back to the touch or when a toothpick inserted in the center comes out clean or with just a few moist crumbs.
Cooling the cakes properly is crucial before frosting. Allow them to cool in the pans for about 10 minutes, as suggested, to prevent them from falling apart when you transfer them to a wire rack. If you want to speed up the cooling process, you can place the pans in the refrigerator for a short period. Just be careful not to leave them in too long, as you don’t want to chill them too much before frosting.
Ingredients
Gather these ingredients to create your Mini Heart Cake:
For the Cake
- 1 1/2 cups all-purpose flour
- 1 cup granulated sugar
- 1 teaspoon baking soda
- 1 teaspoon cocoa powder
- 1/2 teaspoon salt
- 1 cup vegetable oil
- 1 cup buttermilk, room temperature
- 2 large eggs, room temperature
- 2 tablespoons red food coloring
- 1 teaspoon vanilla extract
- 1 teaspoon white vinegar
For the Cream Cheese Frosting
- 8 oz cream cheese, softened
- 1/2 cup unsalted butter, softened
- 4 cups powdered sugar
- 1 teaspoon vanilla extract
- 2 tablespoons heavy cream (optional for consistency)
Ensure you have everything ready before you start baking!
Instructions
Follow these straightforward steps to make your Mini Heart Cake:
Prepare the Cake Batter
Preheat your oven to 350°F (175°C). Grease and flour heart-shaped cake pans. In a mixing bowl, combine flour, sugar, baking soda, cocoa powder, and salt. In another bowl, whisk together the oil, buttermilk, eggs, red food coloring, vanilla extract, and vinegar. Gradually mix the dry ingredients with the wet ingredients until smooth.
Bake the Cakes
Divide the batter evenly between the prepared pans. Bake for 20-25 minutes, or until a toothpick inserted into the center comes out clean. Let the cakes cool in the pans for 10 minutes before transferring to a wire rack.
Make the Frosting
In a bowl, beat the cream cheese and butter until smooth. Gradually add the powdered sugar and vanilla extract, mixing well until creamy. If needed, add heavy cream for a smoother texture.
Assemble the Cake
Once the cakes are completely cool, place one layer on a serving plate. Spread a layer of frosting on top, then add the second layer. Use the remaining frosting to cover the entire cake and decorate as desired.
Enjoy your beautifully crafted Mini Heart Cake!
Pro Tips
- To enhance the flavor, add a touch of almond extract to the frosting. You can also use a heart-shaped cookie cutter to create fun decorations with leftover cake scraps.
Frosting Techniques
Making the cream cheese frosting smooth and creamy hinges on the temperature of the ingredients. Both the cream cheese and butter should be at room temperature to ensure they blend seamlessly, which gives a light texture. If your frosting is too thick, you can add up to two tablespoons of heavy cream to achieve the perfect consistency for spreading. Alternatively, if it's too thin, a little extra powdered sugar can help firm it up without altering the flavor.
For a beautiful finish, consider using a spatula to swirl the frosting on the top and sides of the cake. You can even create peaks and swirls for an artistic touch. To prevent the cake from crumbling when frosting, you might want to apply a thin 'crumb coat' layer first, chilling the cake for 20 minutes before adding the final layer of frosting.
Storing and Serving Suggestions
This Mini Heart Cake can be stored in an airtight container in the refrigerator for up to five days, making it a great treat to enjoy over a few days. If you need to keep it longer, you can freeze the unfrosted cake layers, wrapping them in plastic wrap, and then aluminum foil for up to three months. When ready to use, just thaw the layers in the refrigerator overnight before frosting and serving.
For serving, this cake is an eye-catching centerpiece for romantic occasions or festive gatherings. You can enhance presentation by garnishing with chocolate shavings or fresh berries, or even a dusting of powdered sugar. Another delicious idea is to drizzle chocolate ganache over the top for a decadent touch that complements the red velvet beautifully.
Questions About Recipes
→ Can I make this cake in advance?
Yes, you can bake the cakes a day ahead and refrigerate them wrapped tightly in plastic.
→ What can I use instead of buttermilk?
You can make a substitute by mixing 1 cup of milk with 1 tablespoon of vinegar or lemon juice.
→ How do I store leftovers?
Store leftover cake in an airtight container in the refrigerator for up to 3 days.
→ Can I freeze this cake?
Yes, this cake freezes well. Wrap it tightly in plastic wrap and store in the freezer for up to 3 months.
Mini Heart Cake with Red Velvet
Created by: Pippa Lawson
Recipe Type: Simple Baking Favorites
Skill Level: Intermediate
Final Quantity: 4 servings
What You'll Need
For the Cake
- 1 1/2 cups all-purpose flour
- 1 cup granulated sugar
- 1 teaspoon baking soda
- 1 teaspoon cocoa powder
- 1/2 teaspoon salt
- 1 cup vegetable oil
- 1 cup buttermilk, room temperature
- 2 large eggs, room temperature
- 2 tablespoons red food coloring
- 1 teaspoon vanilla extract
- 1 teaspoon white vinegar
For the Cream Cheese Frosting
- 8 oz cream cheese, softened
- 1/2 cup unsalted butter, softened
- 4 cups powdered sugar
- 1 teaspoon vanilla extract
- 2 tablespoons heavy cream (optional for consistency)
How-To Steps
Preheat your oven to 350°F (175°C). Grease and flour heart-shaped cake pans. In a mixing bowl, combine flour, sugar, baking soda, cocoa powder, and salt. In another bowl, whisk together the oil, buttermilk, eggs, red food coloring, vanilla extract, and vinegar. Gradually mix the dry ingredients with the wet ingredients until smooth.
Divide the batter evenly between the prepared pans. Bake for 20-25 minutes, or until a toothpick inserted into the center comes out clean. Let the cakes cool in the pans for 10 minutes before transferring to a wire rack.
In a bowl, beat the cream cheese and butter until smooth. Gradually add the powdered sugar and vanilla extract, mixing well until creamy. If needed, add heavy cream for a smoother texture.
Once the cakes are completely cool, place one layer on a serving plate. Spread a layer of frosting on top, then add the second layer. Use the remaining frosting to cover the entire cake and decorate as desired.
Extra Tips
- To enhance the flavor, add a touch of almond extract to the frosting. You can also use a heart-shaped cookie cutter to create fun decorations with leftover cake scraps.
Nutritional Breakdown (Per Serving)
- Calories: 380 kcal
- Total Fat: 26g
- Saturated Fat: 15g
- Cholesterol: 195mg
- Sodium: 85mg
- Total Carbohydrates: 32g
- Dietary Fiber: 3g
- Sugars: 24g
- Protein: 6g